%20Logos%202022/sharetru%20logo%20white%20bg%20and%20padding.png.png?width=400&height=100&name=sharetru%20logo%20white%20bg%20and%20padding.png.png)
This article will detail how you can use Auth0 SAML with your Sharetru account.
You will need two browser windows/tabs for these steps.
Create the Identity Service at Sharetru
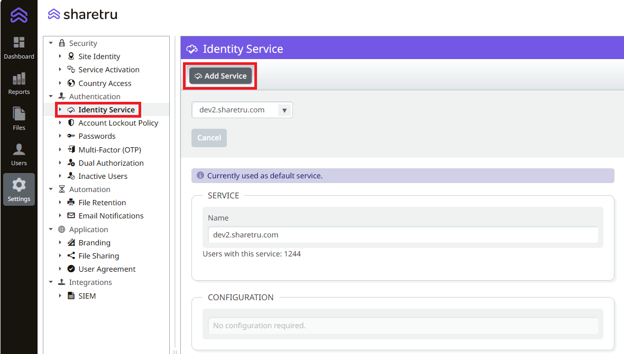
Log into your Sharetru Site. Navigate to Settings > Authentication > Identity Service. Click on Add Service.
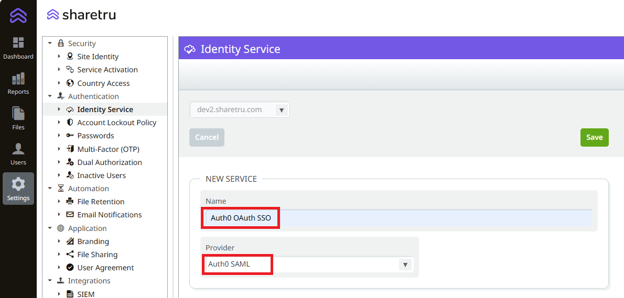
Enter a name for the New Service and select “Auth0 SAML” as the provider and Save.
Create the Application at Auth0
On your Sharetru, locate the configuration information.

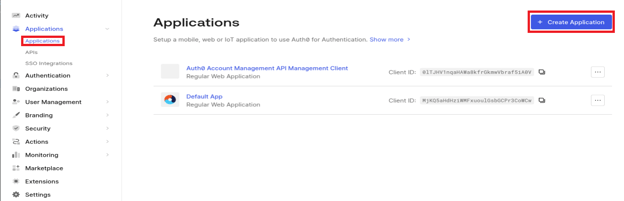
Log into your Auth0 portal. Select Applications and Create Applications.
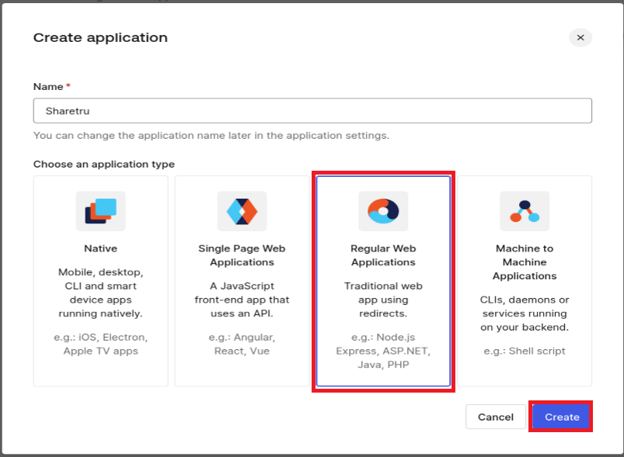
Enter a name for the application, select Regular Web Applications and Create.
Select the configuration (ellipsis) for the application you created and select Settings.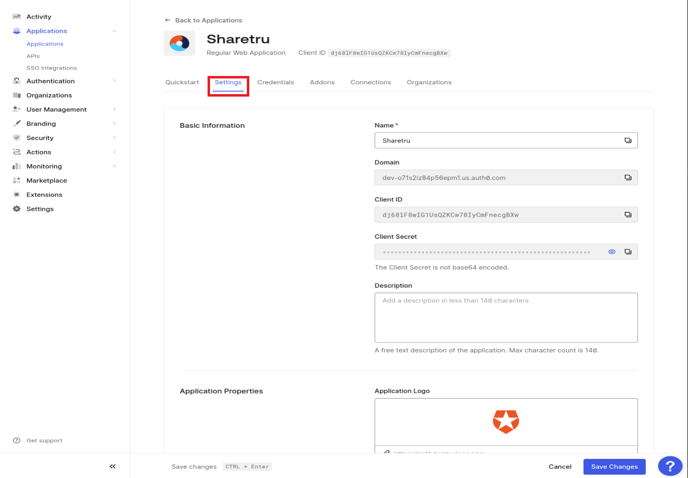
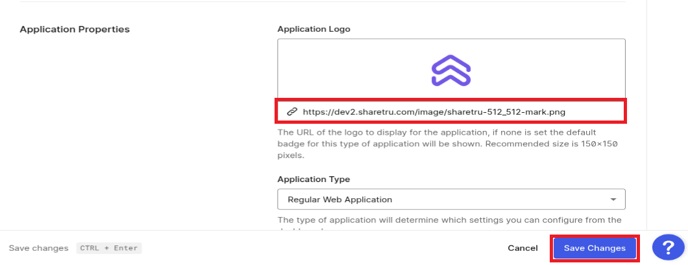
Copy the Logo URL from your Sharetru Site to the Application Logo field and Save Changes..png?width=688&height=132&name=image-20240329-223621(1).png)
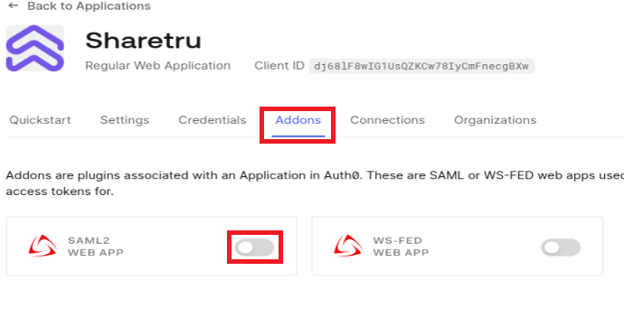
 We recommend not enabling SAML 2 WEB APP Add-on. If you do enable it you must apply the setting below.
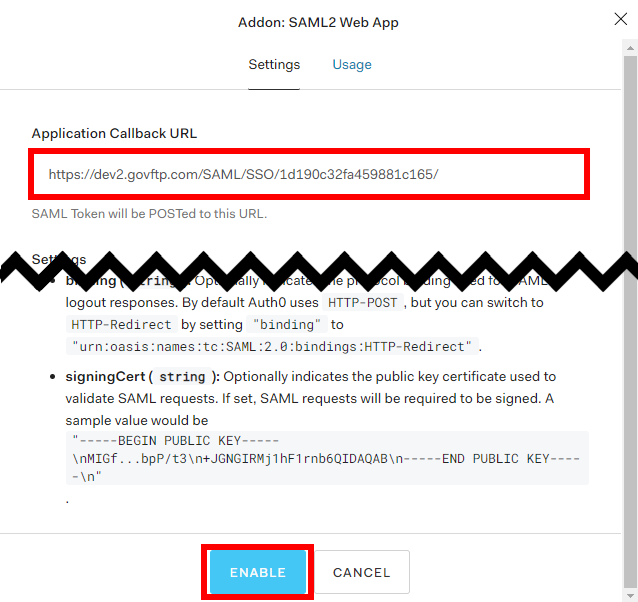
Copy the Application Callback URL from your Sharetru site to the Auth0 site and Enable.
Configure the Identity Service at FTP Today
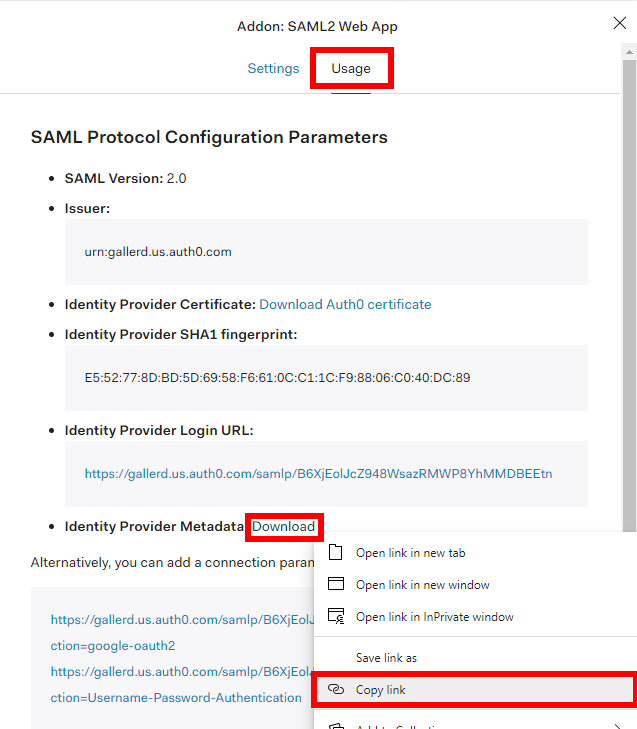
Continuing in the Auth0 portal, select Usage. Locate the Identity Provider Metadata. Right click on the Download and select Copy link.
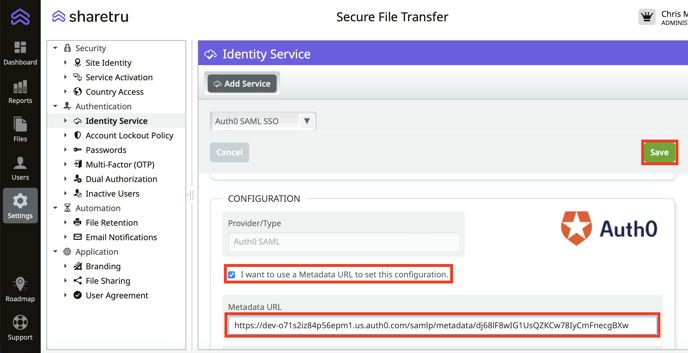
Select “I want to use a Metadata URL to set this configuration.”, paste the Download link as the Metadata URL and Save.
Assign the user to the application at AzAuth0
Not required.
Add the user at Sharetru
In your Sharetru site, navigate to the Users area and select Add User.

Enter the username as set up in the Auth0 service and select the Auth0 SAML service you created. Complete the rest of the fields as needed and Save.
.png?width=688&height=327&name=image-20240502-200836(1).png)
Auth0 supports an advanced security feature that offers further user verification. You may register the user with a unique identifier from Auth0. In addition to matching the User Name to identify the user, we will match the Auth0 ID for that user.
When setting up the user, navigate to the user at Auth0, locate the user_id and copy the part after “auth0|”.
.png?width=688&height=125&name=image-20240502-201637(1).png)
Include that value as the IdP User Unique Identifier when you create the user.
.png?width=688&height=327&name=image-20240502-203106(2).png)
If the user already exists in your Sharetru site, you may change these settings on the Authentication tab for the user.
User access through Sharetru
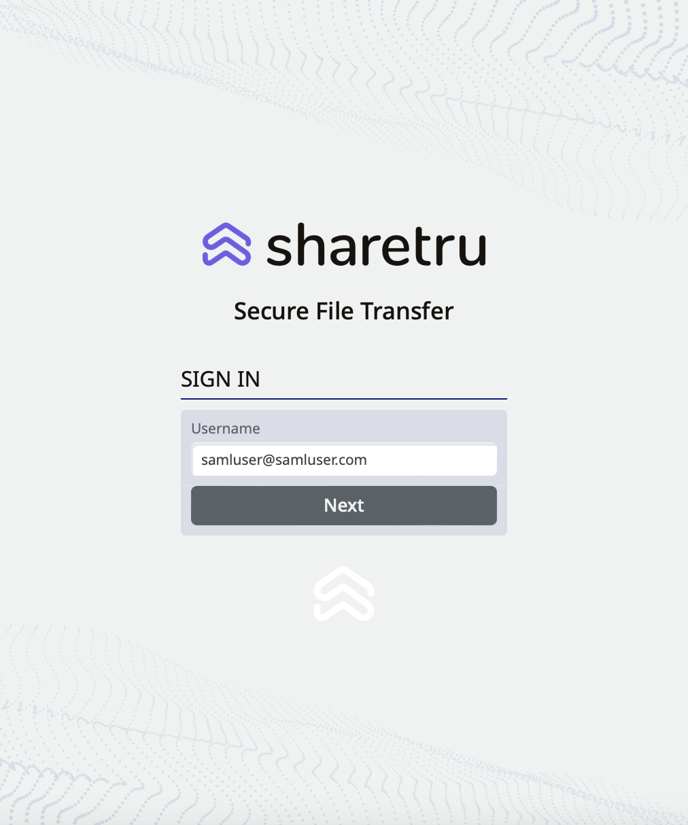
Navigate to the site and enter the username and click Next.
There will be a brief “Authenticating” message.
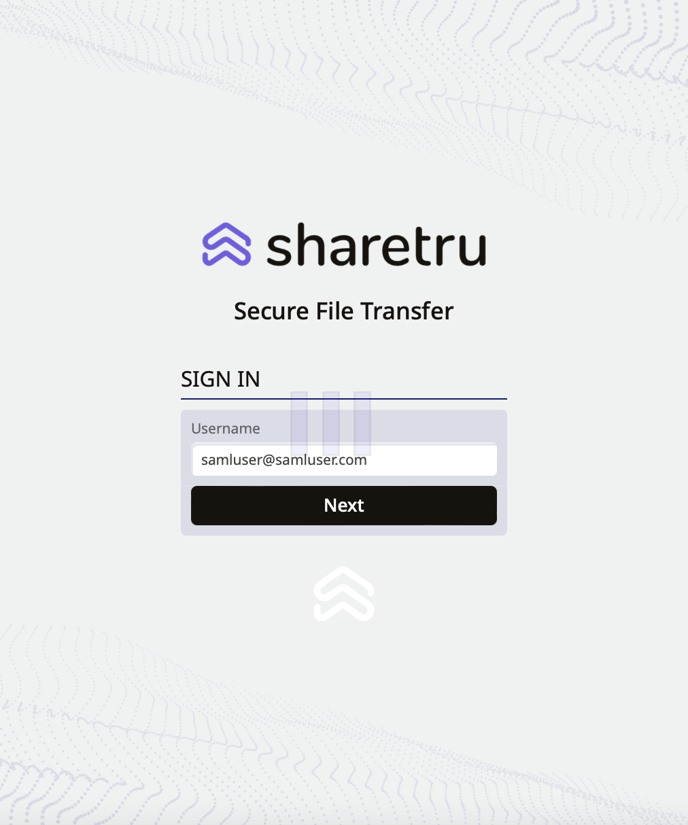
If the user does not have an open session with Auth0, they will have to authenticate.
The user will now be logged into your Sharetru Site.
Ending the session
When done, the user may log out of the Sharetru site or allow the session to expire. This will not log the user out of Auth0 or any other services authenticated through Auth0.
The session timeout on the Sharetru Site may log the user out of the site even if they are still logged in at Auth0. In that case, after reentering their username they will be immediately authenticated to the site.
Encrypting the SAML response
This is an advanced setting required for FIPS compliance. At your Sharetru Site, navigate to the Identity Service, toggle the “Encrypt Assertion” to on and Save.
.png?width=688&height=346&name=image-20240403-172356(1).png)
You will now see an Encryption Certificate link near the page bottom.

Create an Action
In Auth0 using the following template:
Use custom PostLogin action with Node18.
exports .onExecutePostLogin = async (event , api ) => { if (event .client .client_id === '<REDACTED>' ) { api .samlResponse .setEncryptionPublicKey ( '-----BEGIN PUBLIC KEY-----\+1\\nzDCi<clientid>+IDAQAB\n-----END PUBLIC KEY-----\n' ) api .samlResponse .setEncryptionCert ( '-----BEGIN CERTIFICATE-----\\npw<clientid>qyrEhA==\n-----END CERTIFICATE-----\n' ) } };