- Knowledge Base
- User Settings
-
Sitewide Settings
-
User Settings
-
Files & Folders
-
Analytics: Logs, Dashoard and Reports
-
API
-
Single Sign-On Integration
-
SMTP Integration
-
SIEM Integration
-
3rd Party Transfer Clients
-
Service Updates
-
Changing your Subscription, Upgrades, and Downgrades
-
Billing, Payments, Cancellations, & Legal Documentation
-
Frequently Asked Questions
How to give a user access to an existing workspace
1. Log in to the account as a site administrator.
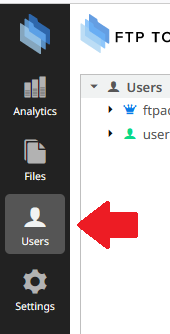
2. Go to the users section.
![User-Section](https://support.sharetru.com/hubfs/Knowledge%20Base%20Import/support.sharetru.comhcarticle_attachments9833733400717.png)
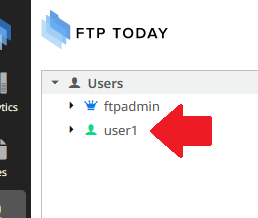
3. Click the user you want to give access to.
![User-Access](https://support.sharetru.com/hubfs/Knowledge%20Base%20Import/support.sharetru.comhcarticle_attachments9833777501197.png)
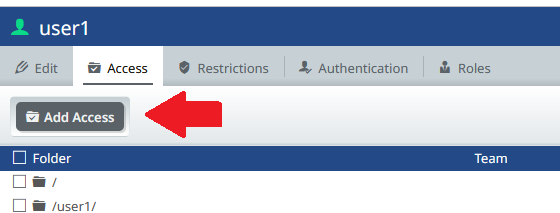
4. Click the Access tab in the right pane.
![Access-tab](https://support.sharetru.com/hubfs/Knowledge%20Base%20Import/support.sharetru.comhcarticle_attachments9833819975949.png)
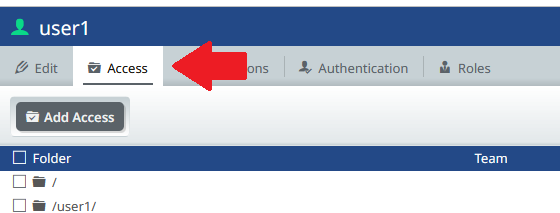
5. Click the Add Access button.
![New-Access](https://support.sharetru.com/hubfs/Knowledge%20Base%20Import/support.sharetru.comhcarticle_attachments9833834694925.png)
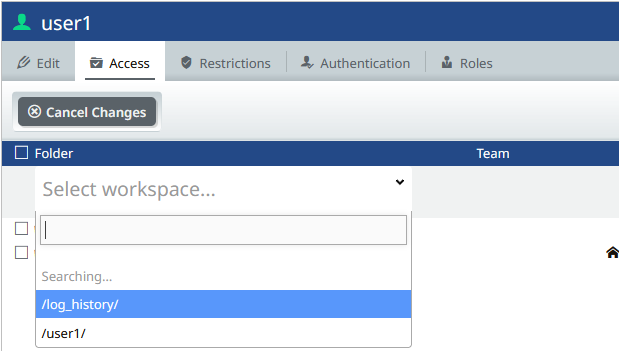
6. Select the workspace from the list that you want to grant this user account access to.
![Access-Changes](https://support.sharetru.com/hubfs/Knowledge%20Base%20Import/support.sharetru.comhcarticle_attachments9833890563853.png)
7. Adjust the permissions by clicking the boxes. A checked box means the client can perform that action.
![Creeate and Cancel-Access-changes](https://support.sharetru.com/hubfs/Knowledge%20Base%20Import/support.sharetru.comhcarticle_attachments9833980104589.png)
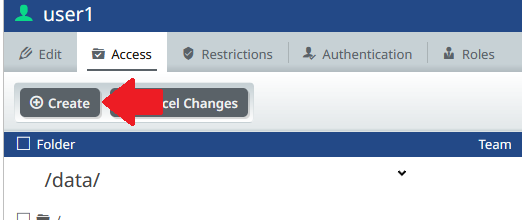
8. Now click Create to grant permissions to the selected workspace to this user account.
![user-1 Access](https://support.sharetru.com/hubfs/Knowledge%20Base%20Import/support.sharetru.comhcarticle_attachments9833995977741.png)