%20Logos%202022/sharetru%20logo%20white%20bg%20and%20padding.png.png?width=400&height=100&name=sharetru%20logo%20white%20bg%20and%20padding.png.png)
Splunk HEC setup
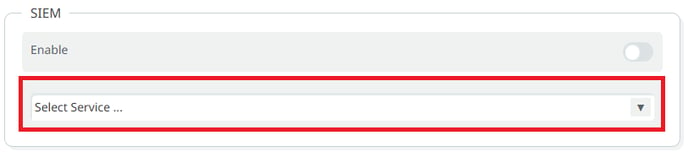

You should now see the available options for setting up your Splunk integration.
The only format available for Splunk HEC is JSON.
To view an example of the SIEM test message click the link button.
Enter the Hostname or IP and port for your Splunk instance.


Enter the Authentication token from your Splunk HEC configuration.

Enable the option to use a signed SSL certificate or disable to use a self-signed SSL certificate:![]()
Click "Save".
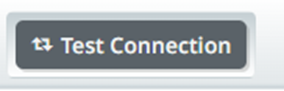
Click "Test Connection" to send event to your Splunk instance.
If the connection is successful you will receive a message verifying that result.
*You should verify that the message was received by your Splunk HEC instance. *
However, if the connection is not successful you will receive a message regarding the failure.
Upon successfully completing the test you may toggle the "Enable" switch on and then click "Save".
This will finalize the SIEM integration set up.

